I’ve had a PowerBanx home battery system for just over 2 years and it’s worked well, but I always wanted to increase its capacity as one of the advantages of a PowerBanx system is you can add additional batteries to the core system at your convenience.
Two years ago I wrote about how I was able to go off-grid for most of the summer: PowerBanx: Living Without an Electricity Bill – Day 1. Since then I have moved to a larger house, with more solar panels but also more appliances and so also higher electricity consumption. In addition, the new inverter system here gives me the benefit of running the house even in a power cut, but that only lasts as long as the sunshine and the battery holds out. So I felt the need to increase our battery size.
Note one of our customers, Peter Cittern, has already blogged about his experience of adding a battery to a PowerBanx system with a Sofar inverter. Here I’ll be describing the process I went through to add three new batteries to PowerBanx system with a Victron inverter.
Our battery system had 4 batteries originally but I had left one in the previous house so we were actually upgrading from 3 batteries to 6. The batteries were all the 2.4kWh Pylontech US2000B type; although 3.55kWh versions are now available I decided to stick with the same battery as I am familiar with them, and they are heavy enough already for me to manhandle on my own!
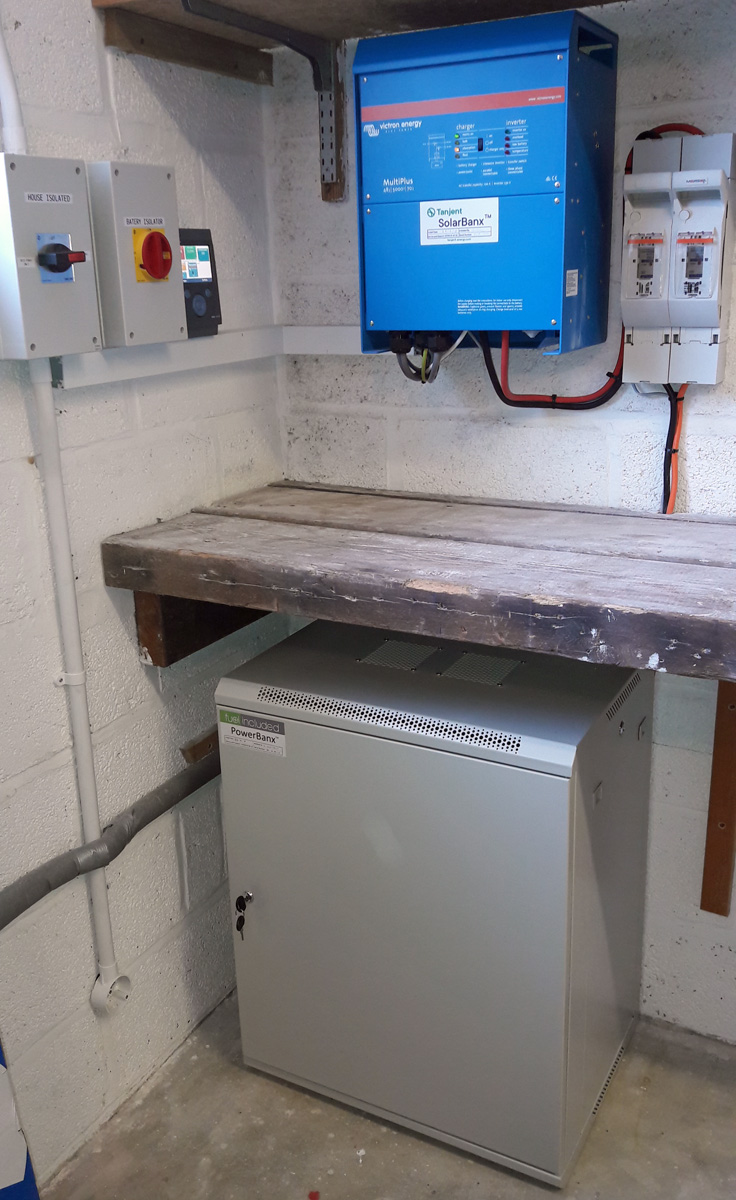
PowerBanx battery system with Victron inverter (Image: T. Larkum)
First of all, of course, you need to order the batteries – you can see our prices here. The important thing to think about is mounting them. If you have one of our standard enclosures then you should also order a pair of shelf rails for each battery:

Shelf rails for the battery enclosure (Image: T. Larkum)
On opening the battery boxes I checked off the contents carefully. In each box, as well as the battery, there are: instructions and warranty card, short network cable, orange cable and black cable to connect to the neighbouring battery, earthing cable (only use if your other batteries are already earthed), and rack mount fixings and bolts:
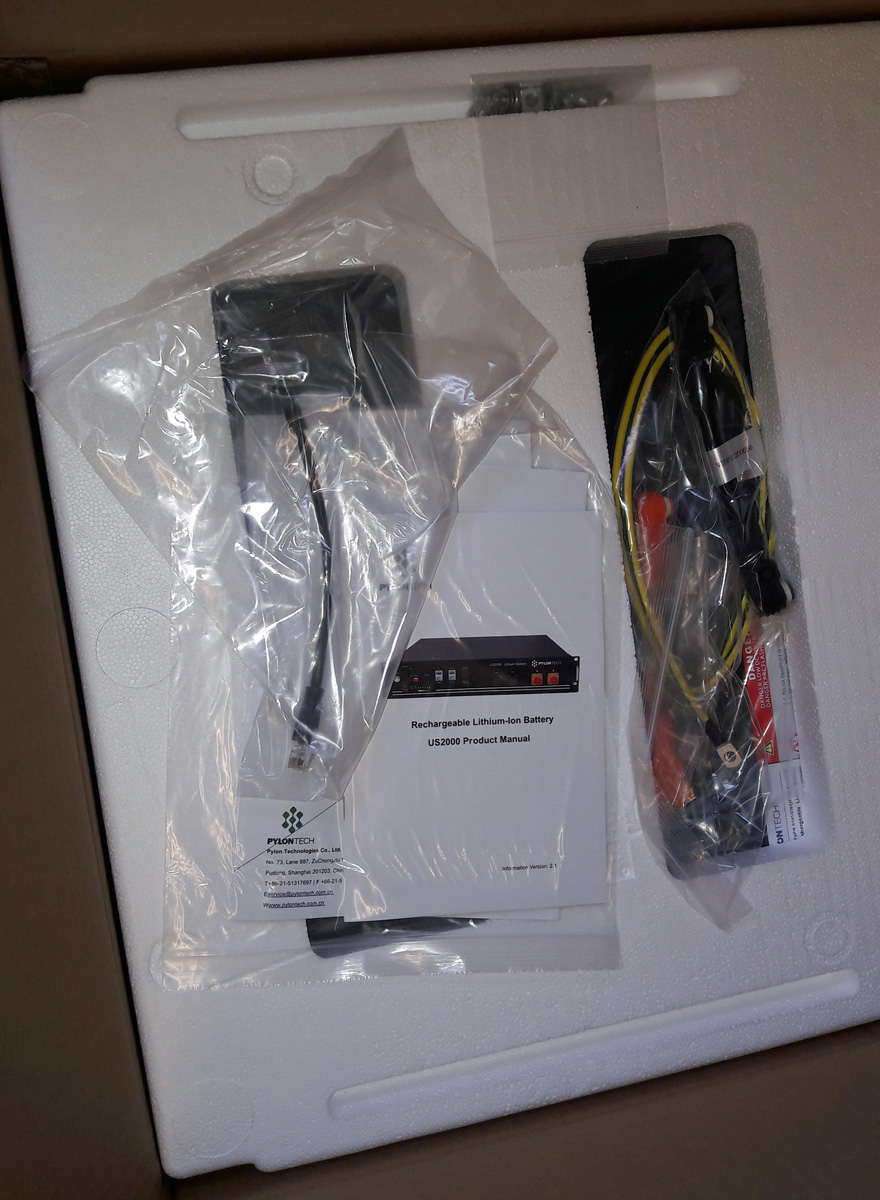
Unboxing a Pylontech US2000B+ 2.4kWh battery (Image: T. Larkum)
I also took the precaution of photographing the existing wiring arrangement for reference, and recording the serial numbers of the new batteries so they could be registered for an extended warranty online:
Photographing everything (Image: T. Larkum)
Before starting, isolate the batteries from the inverter if possible (otherwise power down the inverter) and then power down each battery – see Operating Your PowerBanx Home Battery.
A key thing to note is that one of our standard enclosures is 15U high and can fit exactly 6 of these batteries, so it is important to space them out correctly. The key is to have a mounting screw in the topmost position in the rack, then insert another one at every 4th position down the rack, with a shelf at every second position. This way the batteries are spaced out evenly with an air gap for ventilation cooling between each of them:

Correct mounting positions for battery shelves in a standard 15U enclosure (Image: T. Larkum)
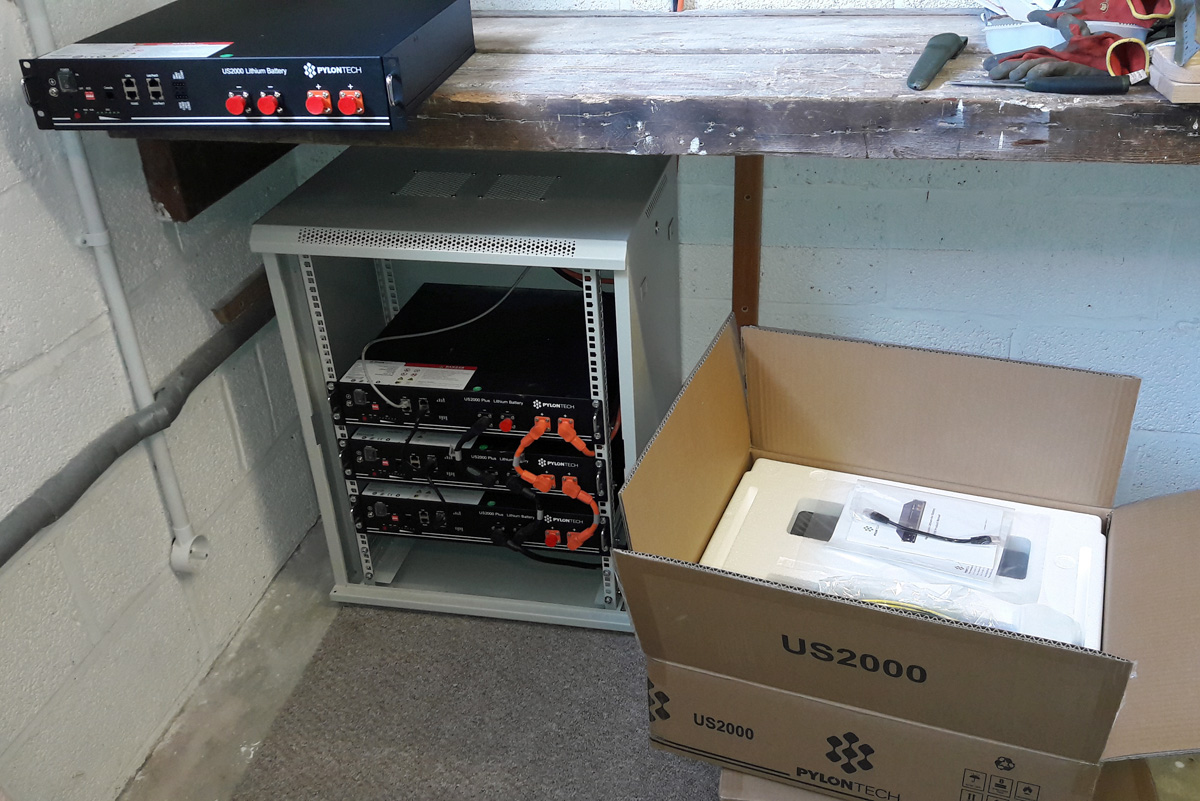
Fitting the batteries is straightforward, slide one onto each shelf and connect up the short black and orange power cables and the short network cable to the next battery in the series; the end batteries are connected to the inverter by the long black and orange power cables and the long network cable.
Once complete, restart the batteries and reconnect to the isolator – see Operating Your PowerBanx Home Battery.

The completed battery upgrade, with full enclosure (Image: T. Larkum)
Job done.