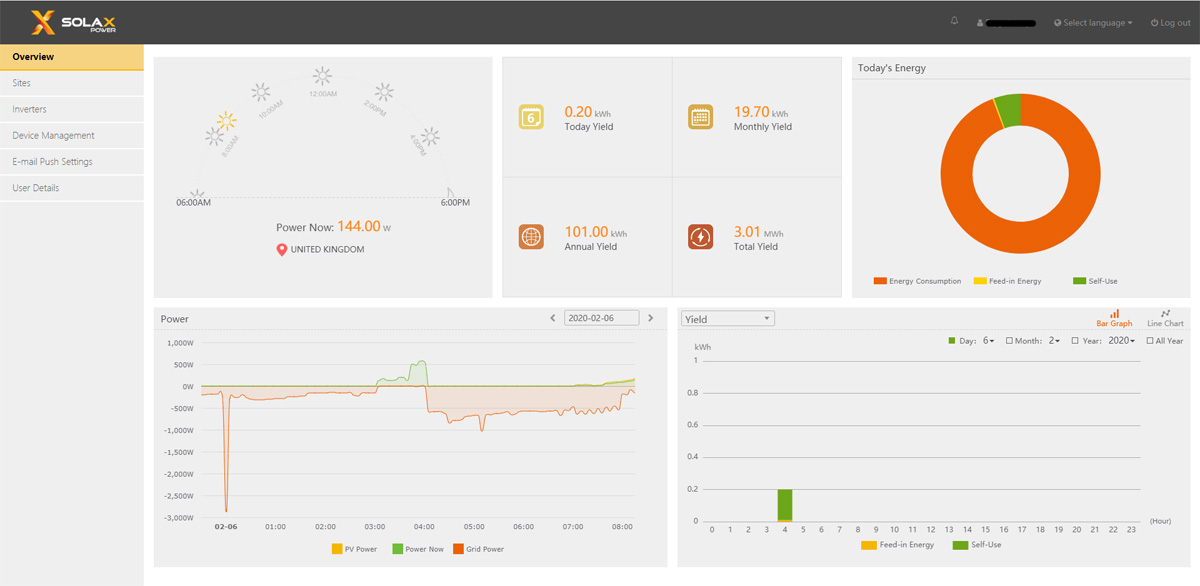
I recently described how to force a charge on a SolaX based home battery system through the screen. Here I’ll cover the process to do the same thing through the system’s online interface, the SolaX Cloud.
Accessing Work Mode: Force Time Use
1. Log into your SolaX Cloud account at https://www.solaxcloud.com/ with your usual username and password.
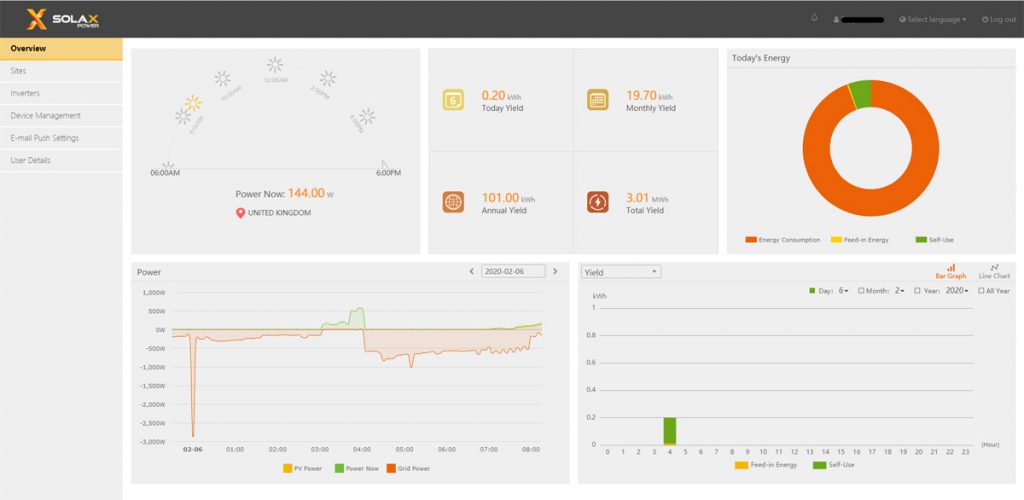
SolaX Cloud Overview page (Image: T. Larkum)
2. Select Inverters to see a list of your devices. Copy the inverter serial number (‘Inverter SN’) for your X1 Retrofit AC battery inverter to the clipboard; it will be labelled X1-AC or similar.
3. Under Device Management select Remote Settings to access the following screen:
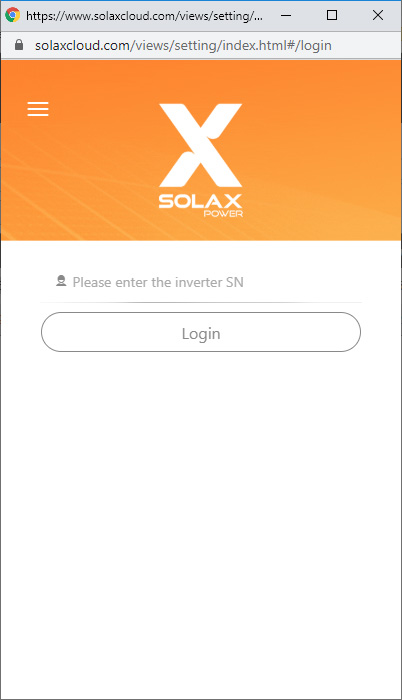
Remote Settings login page (Image: T. Larkum)
4. Paste in your serial number and click Login. That will take you to the Setting screen:
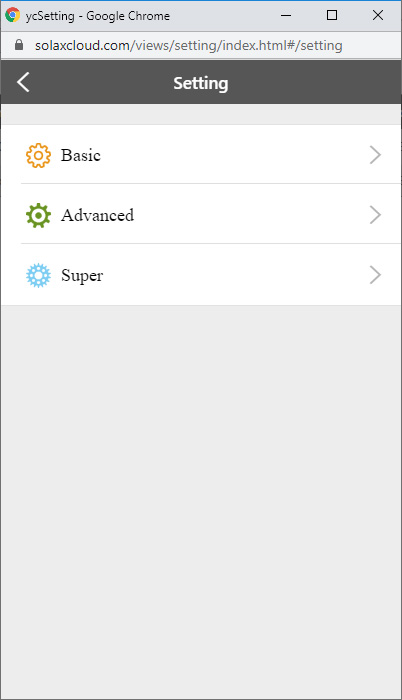
SolaXCloud Setting Screen (Image: T. Larkum)
5. Select Basic to get to the Basic settings screen:
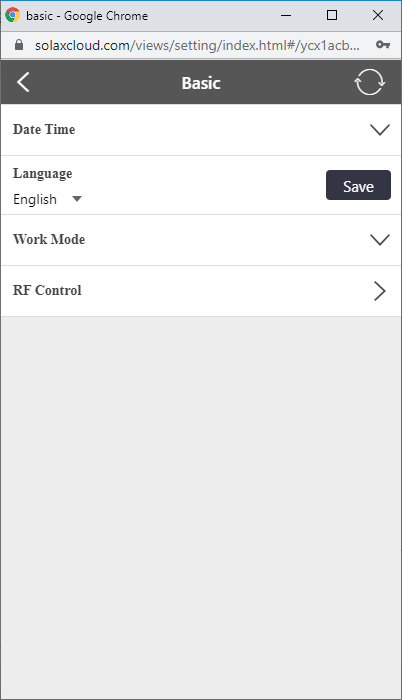
SolaXCloud Basic Settings Screen (Image: T. Larkum)
6. Under Work Mode swap from SelfUse to Force Time Use and then Save:
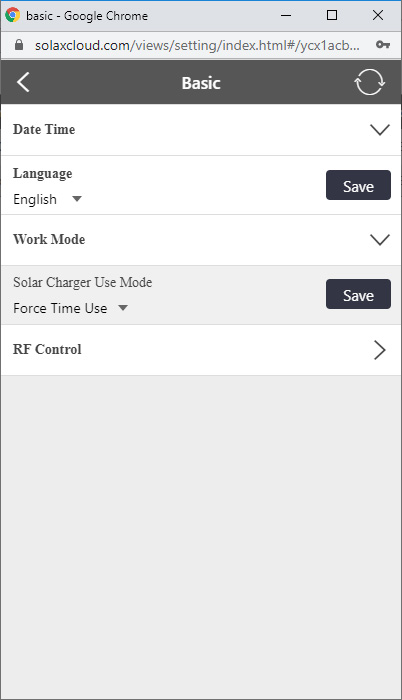
SolaX Cloud Work Mode Setting (Image: T. Larkum)
7. The system will respond Setting success! Acknowledge that and it will display the Charge Start Time and Charge End Time for Charge period 1.
8. Set these as previously described for changing them through the screen. The default for both is 01:01. Select Save after you have changed each time and accept the acknowledgement messages.
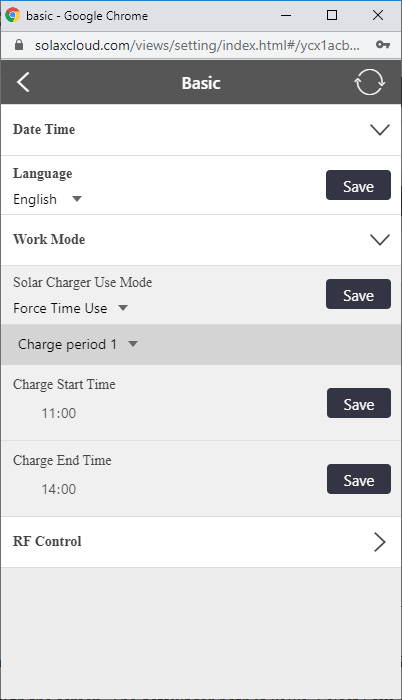
SolaX Cloud WorkMode Times (Image: T. Larkum)
9. You can set a second period by changing the dropdown labelled Charge period 1.
10. Close the window.
11. Log back in to confirm the settings are as you want. Close the window.
12. Monitor the system to confirm it has charged correctly, then log back in to set Work Mode back to SelfUse.


