Overnight and Time of Use Battery Charging
I recently described how a PowerBanx home battery system saves you money: you charge it on a combination of free solar and reduced price ‘Time of Use’ electricity (like Octopus Go or Economy 7) then use it to run your home when you would otherwise have to pay full price for your power.
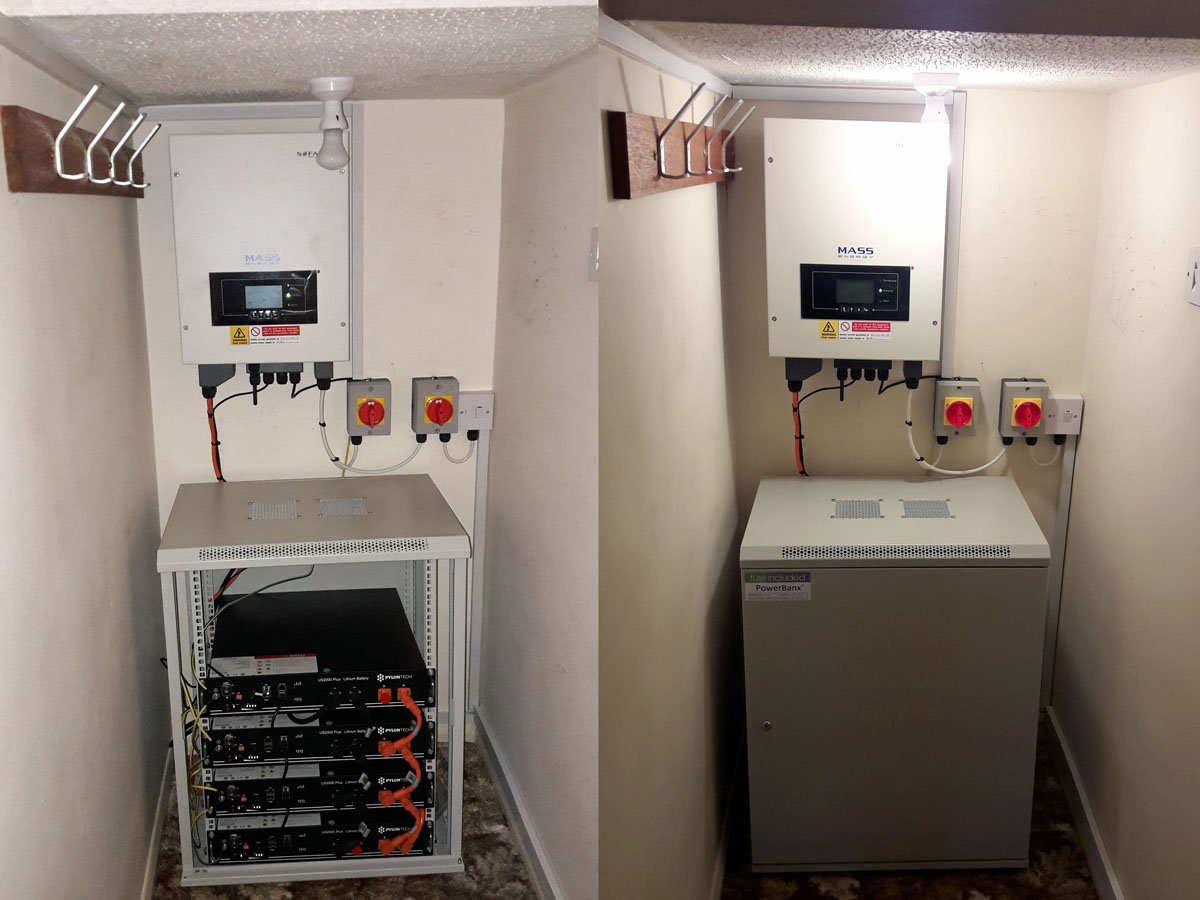
Here we will look in more detail at the Time-of-use/Economy 7 mode, and in particular how to tell the system when cheap electricity is available from the grid.
Accessing Time-of-use Mode: Economy 7 Settings
The process to see (and change) your Time-of-use settings is similar to the method described for checking your main settings via the PowerBanx battery inverter in our previous PowerBanx settings blog post.
Here again is the main inverter screen with the 4 control buttons labelled – to get the screen to light up just press the right-hand Enter button:
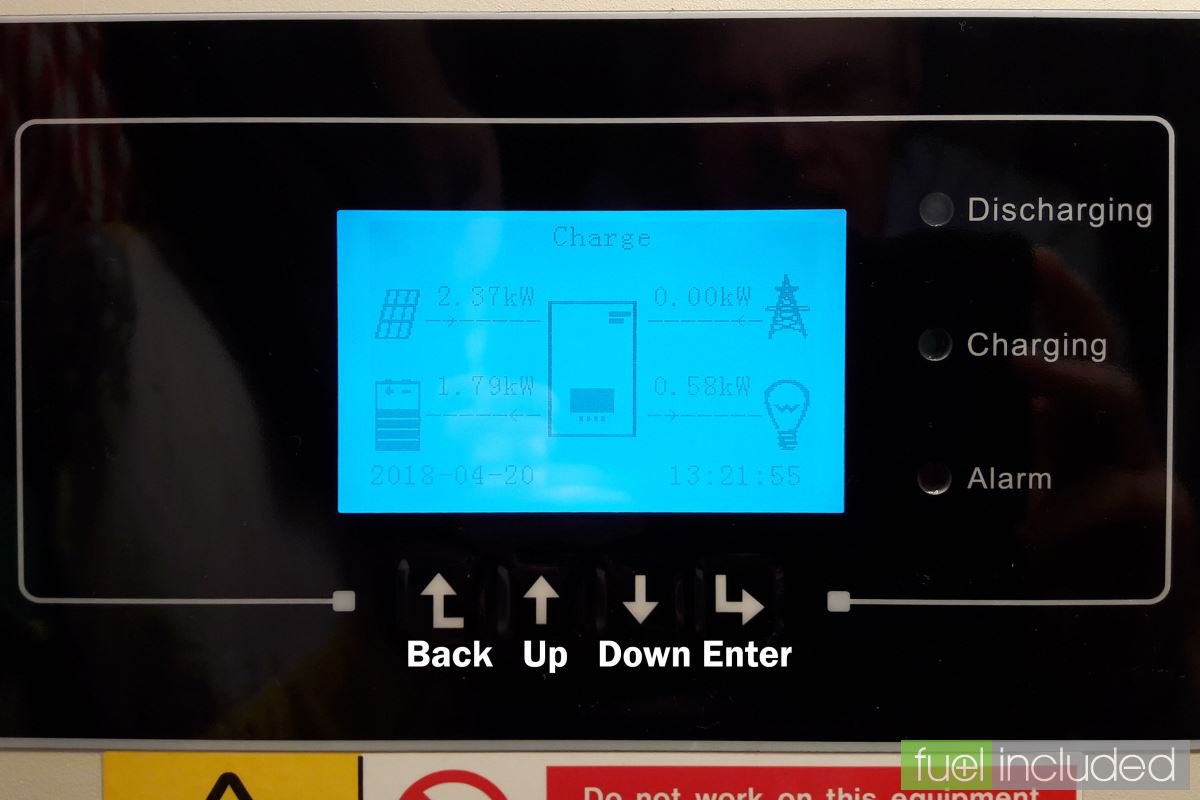
From the main inverter screen press the Back button to access the main system menu. This allows you to choose between Enter Settings, Event List, System Information, Software Update and Energy Statistic.
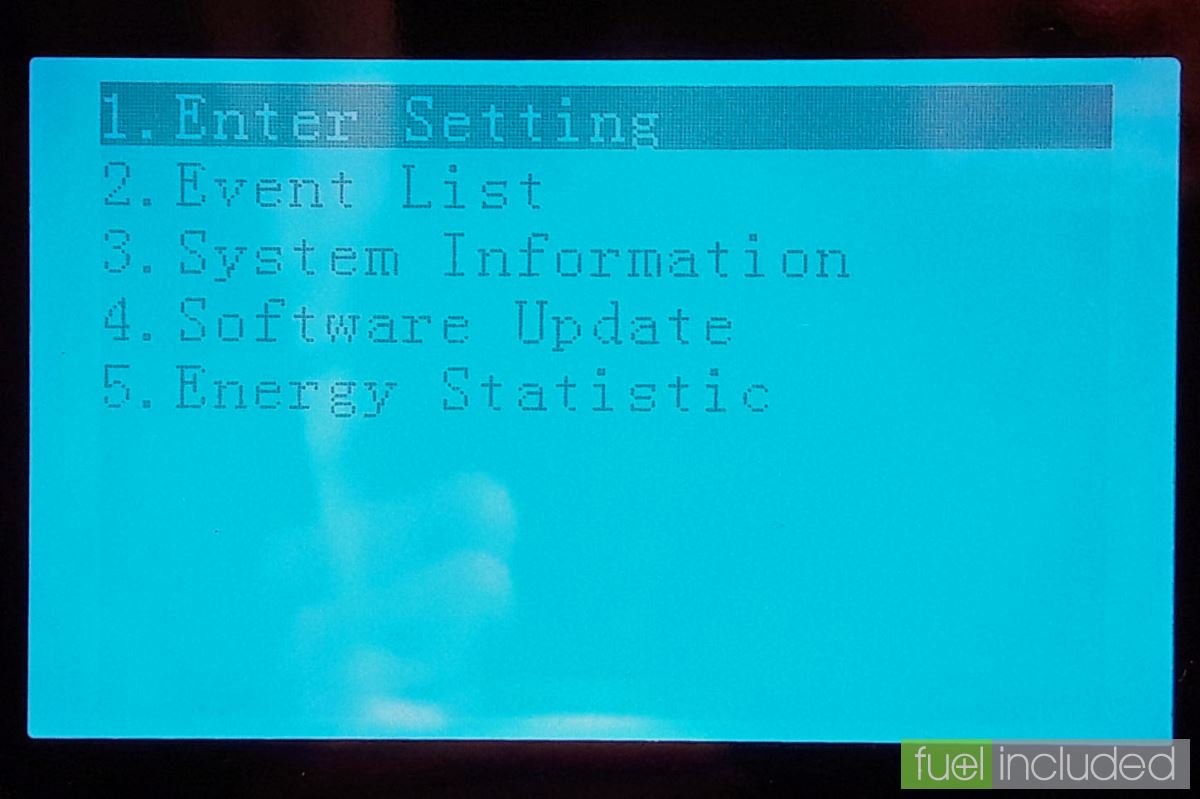
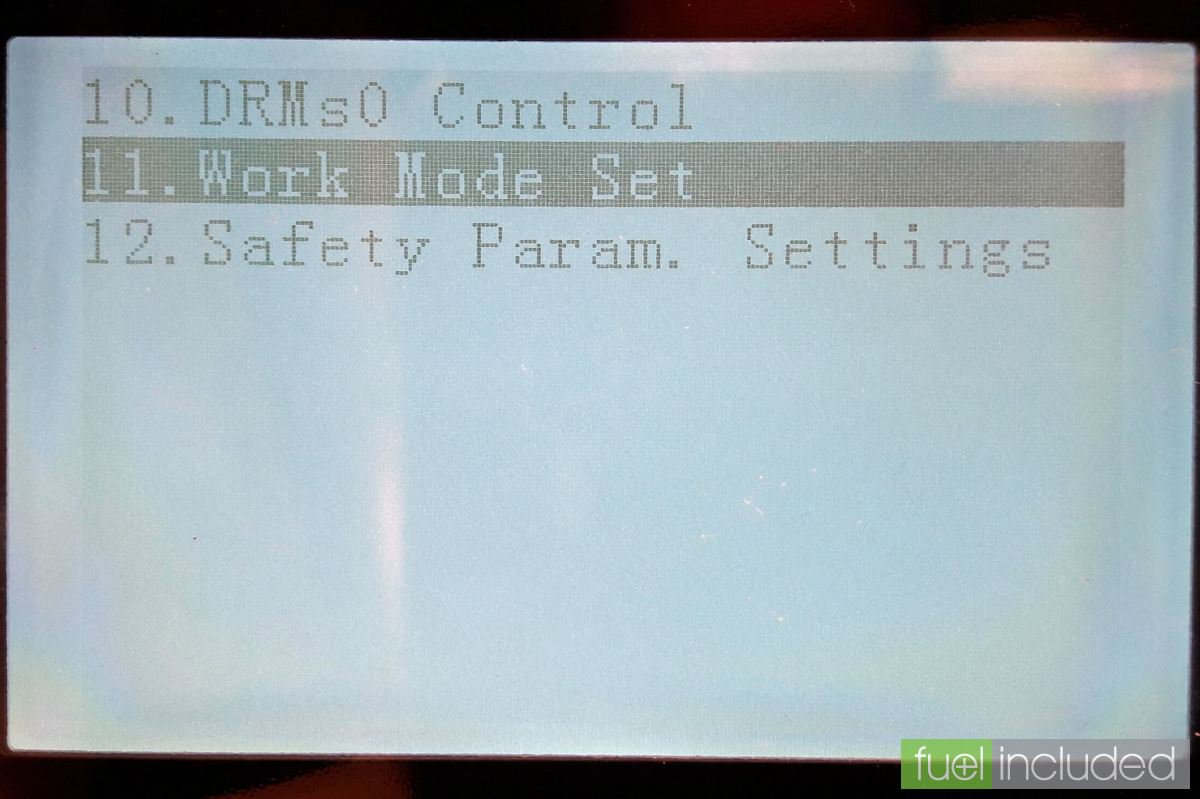
With the cursor on 1. Enter Settings, press Enter. The Enter Settings menu screen will be shown.
Press the Down key until Work Mode Set is selected (this will be 11. on older systems like mine, but will be 12. on newer systems), press Enter.
Press the Down key until 2. Set Time-of-use Mode is selected, press Enter.
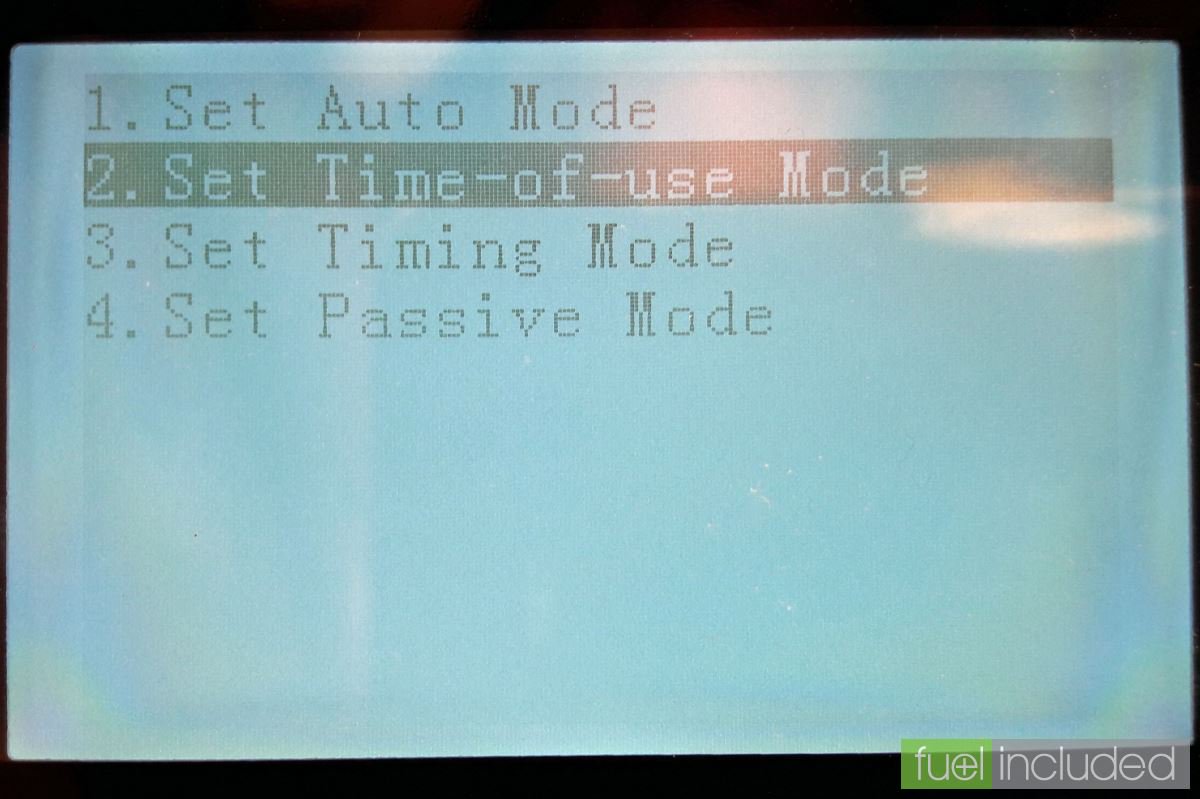
This will put the system into Time-of-use Mode and bring up the key Time-of-use Mode screen that we will be working with. Within this screen Enter will move you to the next field and Back will move you to the previous field.
Changing Time-of-use/Economy 7 Settings
There are 4 rules available to be set, representing four different periods of the year when you want the inverter to charge from Economy 7 as well as solar. You could set just one, with say a fixed amount from November to February, or you could set multiple ones (e.g. a small amount of Eco7 in November, more in December and January, then a small amount in February).
When first going in to the screen the rule Number will be selected – ‘0’ (the rules are number 0 to 3, a computer coding convention). To change to a different rule use the Up/Down keys.
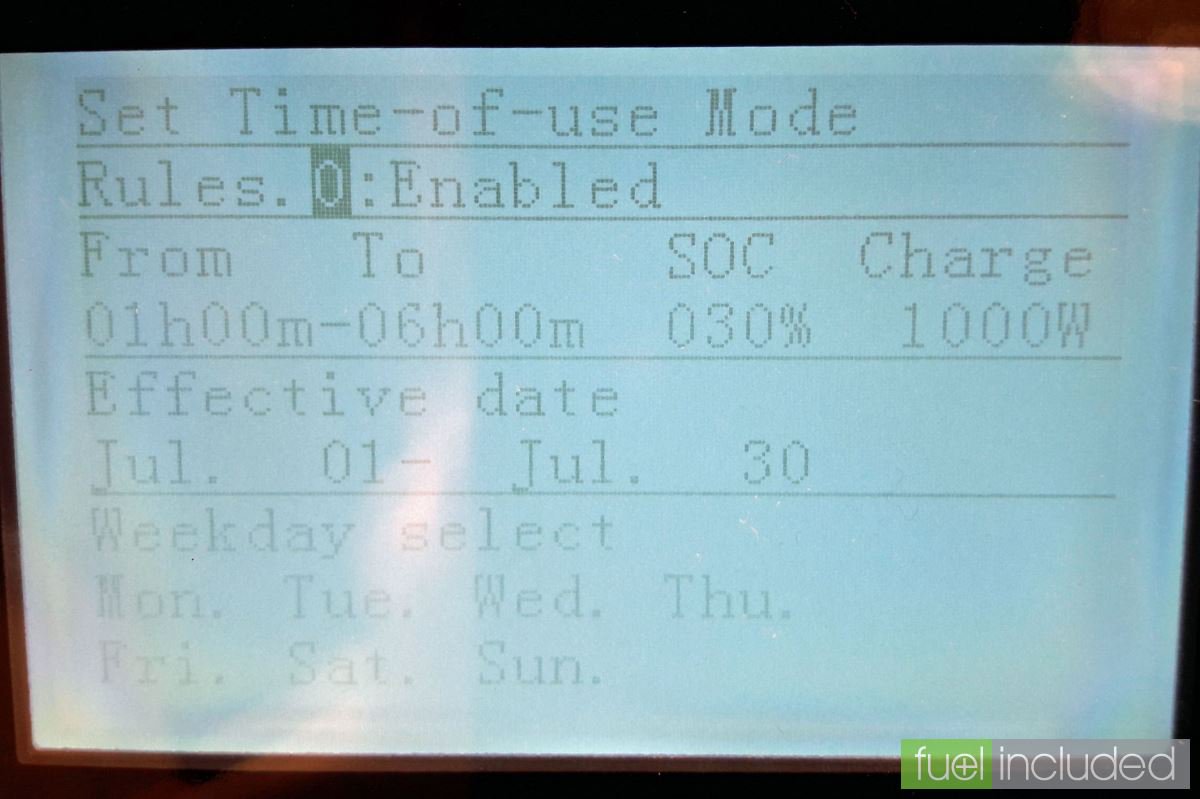
On the rule you want to edit press the Enter key to move to the next field which allows you to switch the rule on or off. By default it will be Disabled. The Up key will select Enabled and the Down key will revert to Disabled.
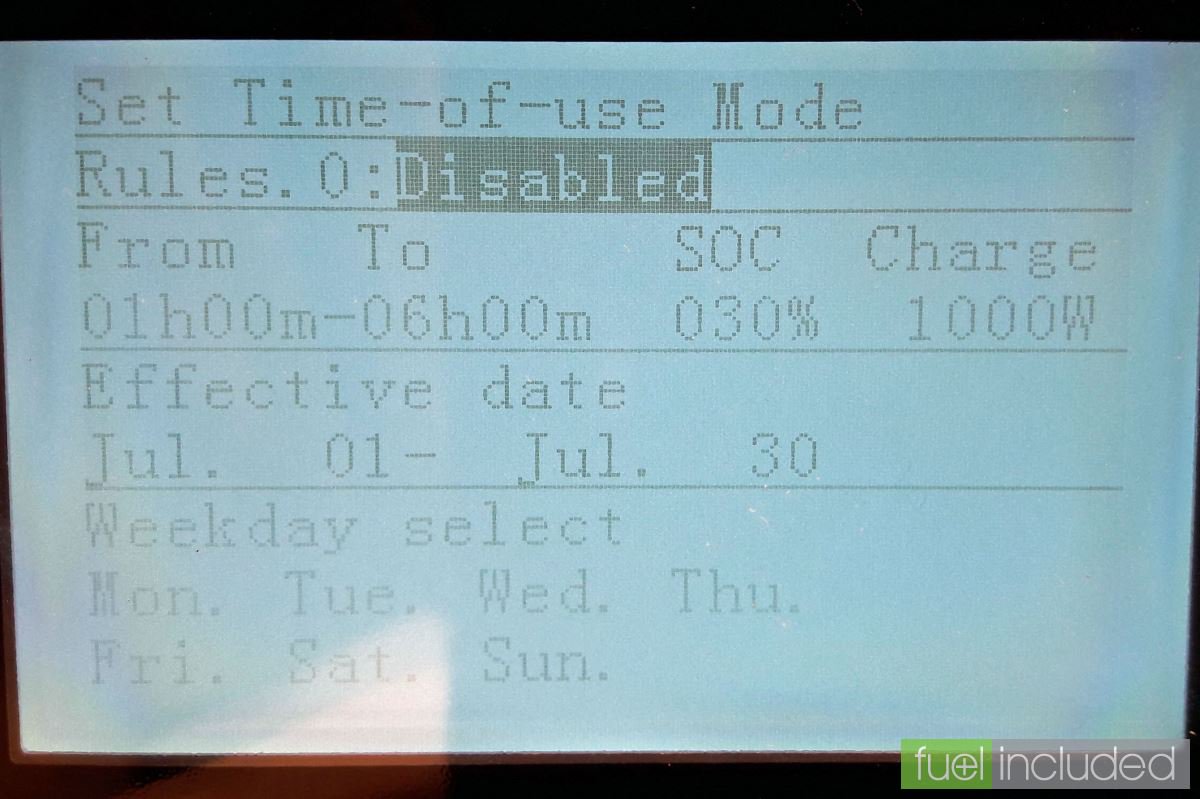
Use the Enter key to get to the next section for setting the Economy 7 times. Use the Up/Down keys to set each time digit, and Enter to select the next digit. Economy 7 charging times can be set to be any time from 00h00m to 23h59m, but are typically between 10pm (2200) and 8.30am (0830). Your times can usually be read from your electricity meter display, but can be looked up online.
The next field is SOC or ‘State of Charge’; this is the battery level that you want the battery to charge up to on Eco7. First some background: the inverter does not allow the battery to drain completely, as that would reduce its working life, so the minimum SOC is 20% when no rule is applied. The batteries are cycled between 100% (full) and 20% (empty); this convention is used on the screen and also in the SolarMAN reporting software.
This means that a full charge of the battery is represented by a SOC range of 80%, so half a charge is 40%. Therefore, for example, if we wanted the battery to take half its charge from Economy 7 we would set the SOC to 60% – that is, the base 20% (empty) plus half a full charge (40%).
Within a rule the SOC can be set from 030% to 100% in single digit increments, i.e. there is a minimum settable value of 30% of Eco7 when a rule is active.
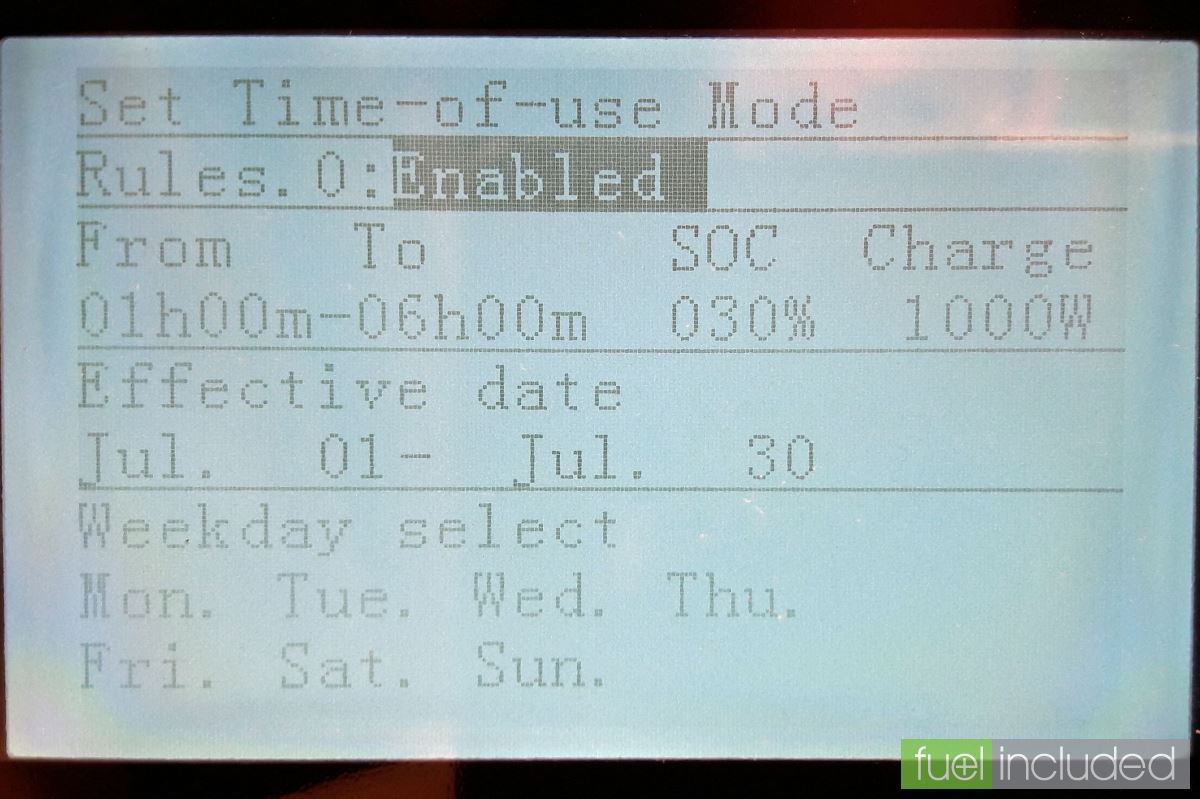
The next field is Charge: this is the power rate at which to charge. The minimum rate is 0000W (not useful!). The maximum rate that can be set on the inverter is 3000W, 3kW (though if you only have 1 or 2 batteries you won’t be able to achieve this). Unless you need to charge at a high rate, for example to fill the battery in limited Economy 7 hours, I would suggest using a lower power and then the inverter won’t get so warm. For example, if you have a 12kWh battery capacity and you only had a 4 hour window for low cost charging (like with the Octopus Energy Go tariff) then you would have to charge for 4 hours at 3kW to get your full 12kWh. However, if you have a 5kWh battery capacity and the full 7 hours of a standard Economy 7 tariff then you could charge at just 1000W (1kW) and still be comfortably fully charged within the time.
The next field is Effective date: these are the start and end dates for the Rule – it will apply within these dates, inclusive (if Enabled) and be ignored outside these dates. The months are Jan. to Dec., the days are 01 to 31 (so you can set dates that can’t be achieved, e.g. June 31, but that doesn’t stop anything working).
The next field is Weekday select: these are the days of the week when the Rule will operate, from Mon. to Sun.. You can turn off particular days, for example if you don’t want to charge on Economy 7 each weekend (say, you’re away from home).
Review and Save Settings
As an example, compared to the previous screen, in the following screen the following changes have been made:
- Charging times: from 0100-0600 (typical times) extended to 0000-2359 (not meaningful, just for demonstration)
- SOC: 30% increased to 35%
- Charge rate: from 1000W increased to 3000W
- Effective date: from just July to the period from October 30-February 28
- Weekdays: from all days, to all days except Wednesday
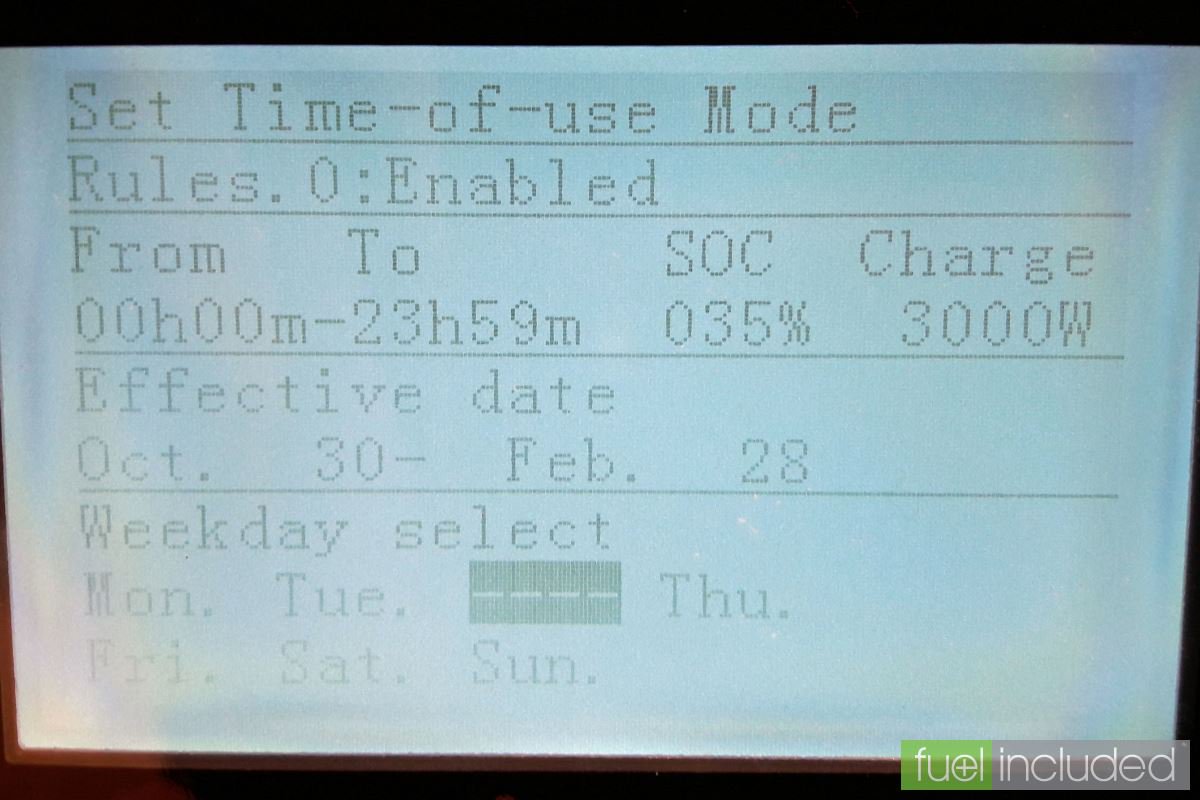
After cycling past the last field on the screen, Sun., using the Enter key you will end up back on the rule Number field. Here you can use the Up key to select the next rule to set.
Otherwise hit Back here to leave the screen and save the current settings. This will be confirmed with a Success screen:

Your rules are now set and saved. Any that are Enabled will now become active during their set Effective dates.
Get The Right PowerBanx For Your Home
If you would like to know more about the PowerBanx range of home battery systems, and get a free instant quote, please complete our online form:


