[Update February 2024: Note this is an old blog post – most recent Zappis come with a built-in Hub so it is no longer necessary to go through the process covered below]
We install quite a lot of myEnergi’s Zappi electric vehicle charge points as they are well suited to charging an EV from solar panels, potentially for free.
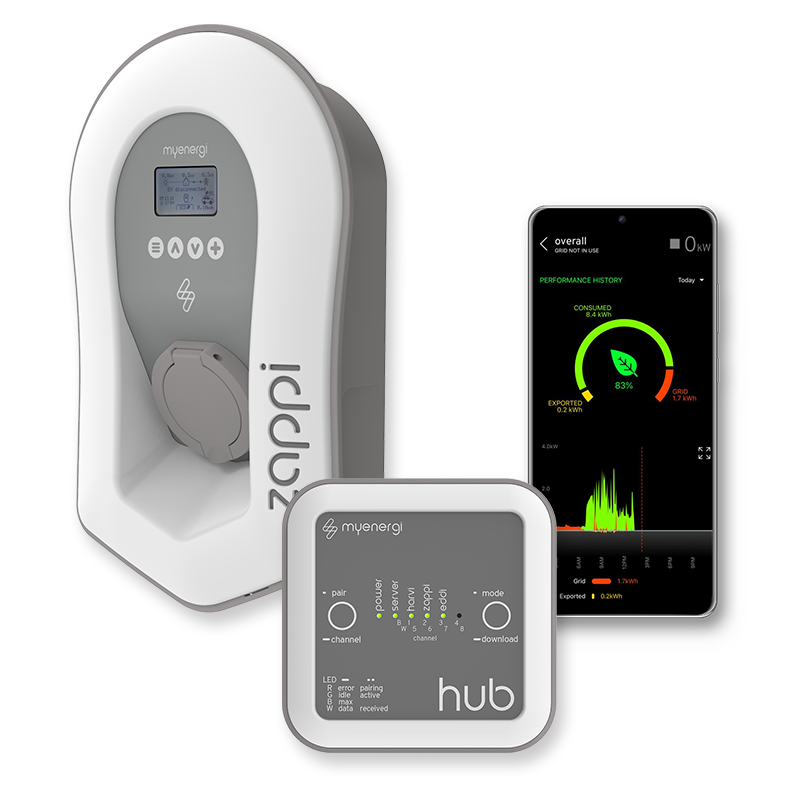
The myenergi combo – Zappi, Hub and App (Image: myenergi.com)
We are registered with myenergi as an authorised installer, and with the government OZEV Electric Vehicle Homecharge Scheme (EVHS). EVHS allows for a £350 rebate on the installation of a charge point, given certain conditions. One of these conditions is the requirement for the charge point to be connected to the Internet, and for the Zappi that means it needs to be connected to a myenergi Hub.
Here I’ll go through the procedure for installing a Hub. The process is officially covered on the myenergi site here, but that leaves out a few details.
You’ll need to know the Serial Number of the Hub – it’s on a sticker on the underside, plus it’s recorded on a card that comes in the same box (best check the numbers are the same!).

myenergi Hub serial number (Image: Tanjent)
Also in the same box is a power supply and a small flat (‘ribbon’) Ethernet cable. To set up the Hub find a convenient time when you’re not charging and a location with power close to your Internet router, then follow the setup procedure.
Myenergi Hub Setup
1. Connect the Ethernet cable from the Hub to your router.
2. Plug in the power supply and power up the Hub.
3. The Hub should display a green power light (see the top image showing the various lights). It should also show a blue server light – if this is red, check the connection to the router.
4. Now you have to pair the Hub to the Zappi, much like when you pair your smartphone to your car. Bear in mind that you will need to move between both devices, and there is a time limit, so unlock any doors in-between!
5. Press the pair button on the Hub. The power light will flash red and the harvi light will be blue.
6. Move to the Zappi and press the menu (three dashes) button below the screen. Use the up and down arrows and the enter (‘+’) button to go through the menus: first Settings, then Advanced, then enter the password (default is 0000), then Linked Devices, then Pairing Mode.
7. The screen should now show at least two devices by serial number: the Zappi, the Hub, and any other devices you’ve already paired (e.g. an Eddi immersion heater diverter). The Hub serial number should, of course, match what’s on the Hub.
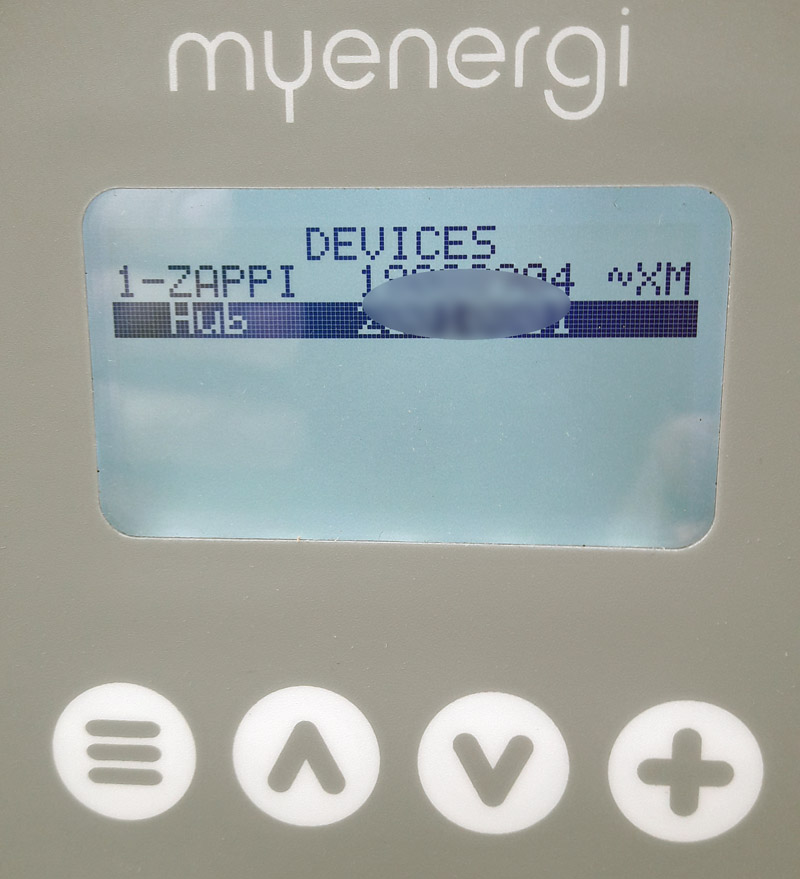
Device serial numbers on myenergi Zappi screen (Image: Tanjent)
8. What’s not obvious (to me at least when I first did it) is that you now need to confirm the process by using the up/down arrows to select the Hub serial number, and then press enter (‘+’) to complete. The screen may then say ‘Updating Devices’.
9. Return to the main screen by pressing the menu button.
10. Confirm that the Zappi light on the Hub is now green.
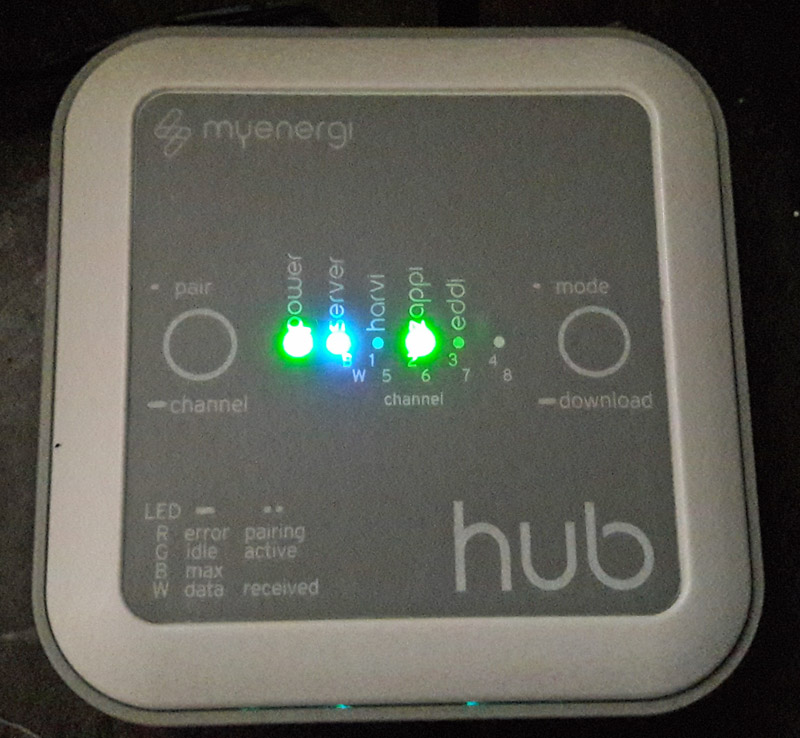
myenergi Hub lights after pairing with Zappi (Image: Tanjent)
11. You have successfully set up the Hub.
Myenergi Smartphone App
Now that your Zappi has Internet access the next natural step is to install the app so you can monitor it on your smartphone:
1. Download, install and set up the myenergi app from Apple App Store or Google Play Store.
2. During setup you will need to enter the Hub serial number that we’ve discussed above.
3. In addition, you will be asked for the Hub Registration Code. To find that go to the Zappi and use the menu keys to select the Information screens, and in particular the 2nd of the 4 screens displays the code. It’s worth taking a photo for your records (and similarly taking the opportunity to record all the information screens).
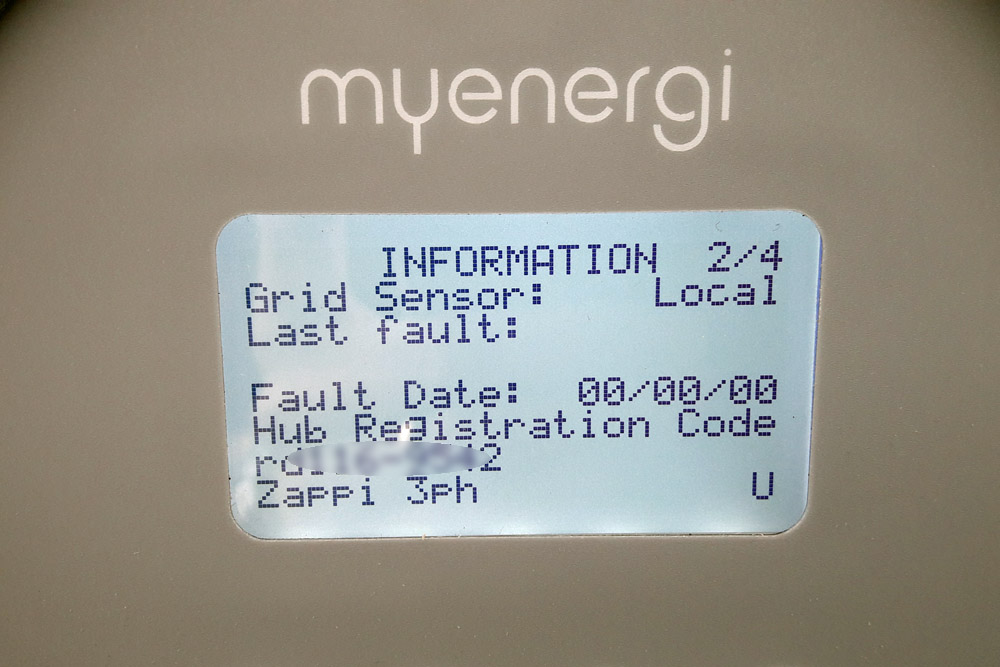
Zappi Information screen showing Hub Registration Code (Image: Tanjent)
4. With both codes entered the setup should complete successfully.
