
Having solar panels installed on a residential property is a significant investment that can deliver years of energy savings, and experienced installation teams guide homeowners through every stage of the process, from initial survey through to final commissioning and grid registration. Knowing what to expect at each stage of a solar installation helps homeowners prepare effectively and ensures a smooth experience from start to finish.
Stage One: The Initial Consultation and Site Assessment
The first stage of any residential solar installation is a consultation with the installer, during which the homeowner outlines their energy goals and the installer collects information about the property. A thorough site assessment follows, either in person or using satellite mapping tools, to evaluate the roof orientation, pitch, available area, potential shading sources, and the location of the main electrical consumer unit. The installer will also review recent electricity bills to understand the household consumption patterns and identify the optimum system size and configuration. The outcome of this assessment forms the basis for the system design and the formal quotation, which should be presented in writing with a clear breakdown of all costs and the expected annual generation figure.
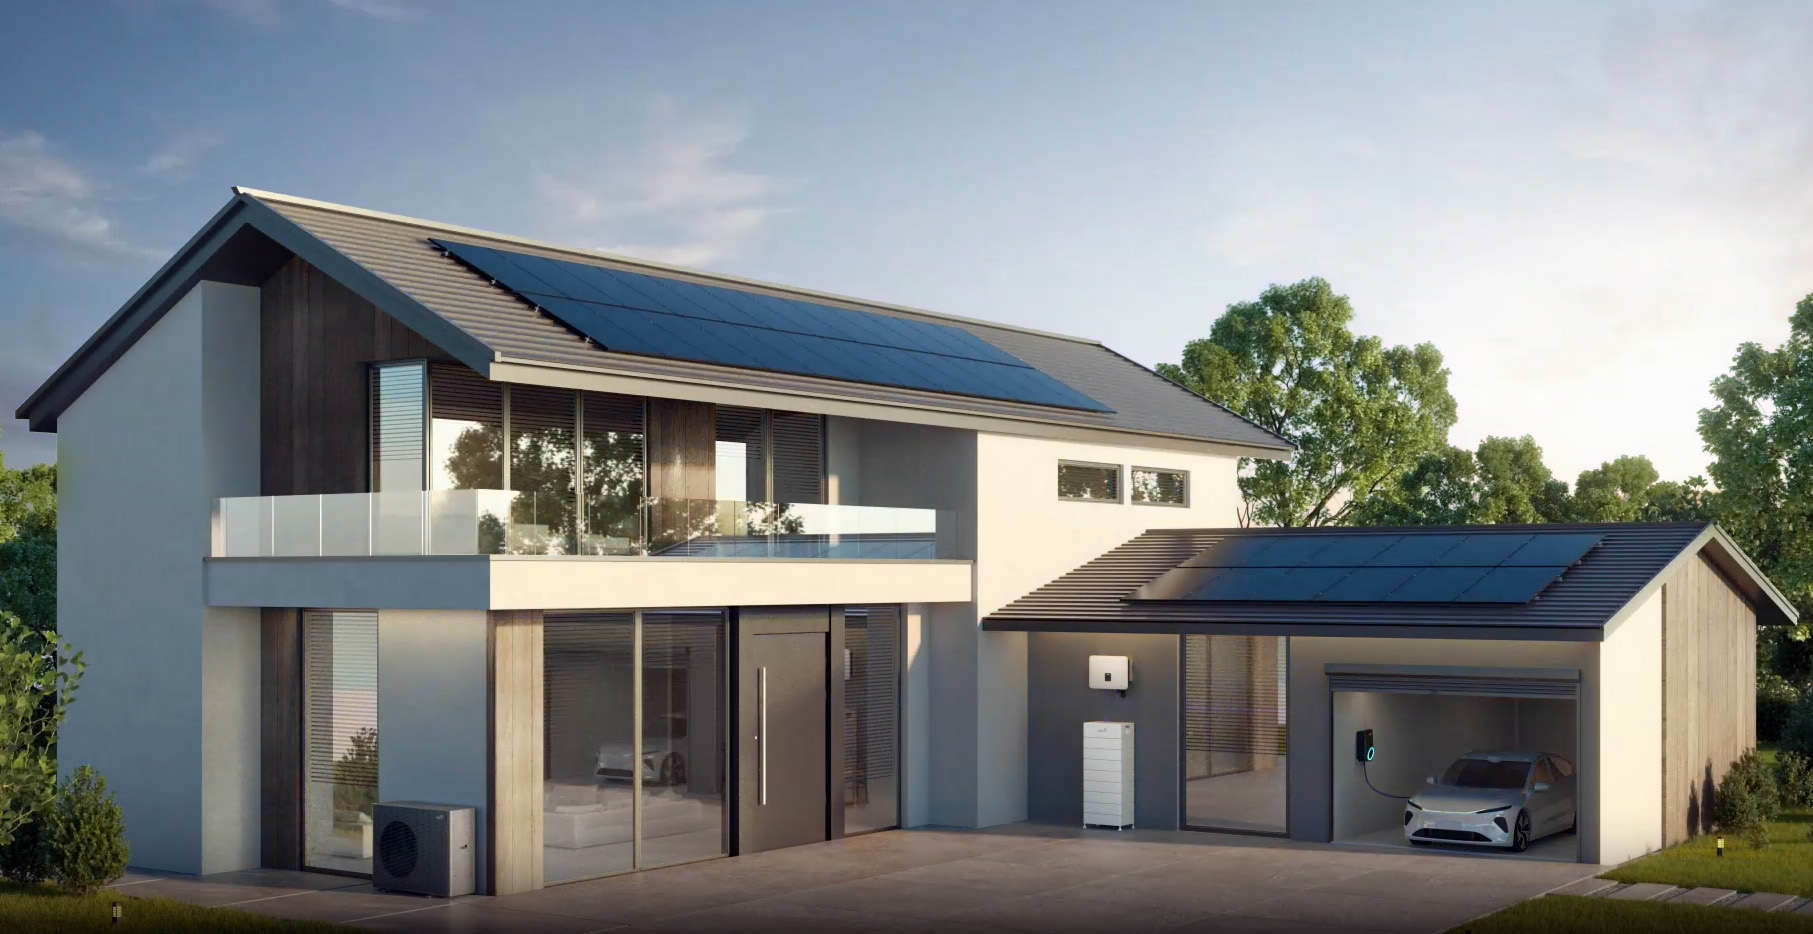
Solar and Battery Eco-system (Image: Fox-ESS.com)
Stage Two: System Design and Product Selection
Once the site assessment is complete, the installer designs the solar system to meet the specific requirements of the property and the household. The design process covers the selection of panel make, model, and quantity, the choice of inverter type, whether string inverter, microinverter, or power optimiser, and the routing of the DC wiring from the panels to the inverter location. If a battery storage system is to be included, the battery capacity and its integration with the inverter are also specified at this stage. The installer should be able to explain the reasoning behind each component choice and provide performance data and warranty information for all items. A well-considered design at this stage is the foundation for a system that performs reliably and requires minimal attention over its operational life.
Stage Three: Scaffolding and Roof Preparation
Before any panels can be fitted, scaffolding is erected to provide safe working access to the roof area where the panels will be installed. For most standard two-storey residential properties, scaffolding installation takes a few hours and is normally carried out by a specialist scaffolding contractor working alongside the solar installation team. During this preparation phase, the installer will also conduct a visual inspection of the roof to confirm that the tiles or slates are in sound condition and that there are no underlying issues that need to be addressed before the mounting brackets are fixed. Any repairs needed to the roof covering should be completed before the solar installation proceeds, as accessing the roof after panels are fitted is considerably more disruptive and costly.
Read more: Landlord Today

